Dermadesigner
From GMod Wiki
| | Go to: Development Tools |
DermaDesigner is an open source graphical development tool written in C# to allow for the easy creation of derma interfaces. View the FacePunch thread here: http://www.facepunch.com/showthread.php?t=940310 SVN: http://dermadesignerb.googlecode.com/svn/trunk/
You can change the size of the workspace by going to View > Size and clicking on your preferred size.
If you ever close and wish to open one of the accessory windows, simply go to View > Properties Window or Tools > Toolbox and click Show. To snap them to their respective corners of the workspace, go to View > Properties Window or Tools > Toolbox and click Snap to Corner. You can un-anchor them by repeating the process.
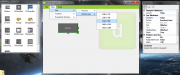
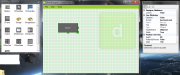
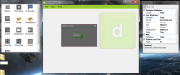
To create a control, simply drag one of the icons from the toolbox on the left into the workspace.
To delete a panel, simply select the panel by clicking on it once and hit the Delete key. Deleting a panel with children will delete all the children as well.
You can drag panels around to arrange them. You can finely place panels with the arrow keys, which will move the selected panel one pixel in the direction of the arrow key. If the Shift key is held, the panel will move ten pixels instead of one.
To aid positioning, you can turn on a grid, to which panels will snap, by going to Tools > Grid and selecting the grid size you want, or by typing in a custom grid size in the Custom submenu. When you drag panels around or resize them, they will snap to this grid. You can keep them from snapping to the grid by holding the Tab key.
When the grid is on and you press an arrow key, the panel will move to the next section of the grid rather than moving one pixel, and holding shift will make the panel move two squares instead of ten pixels. To disable this feature temporarily, hold the Tab key. The Tab key and the Shift key can be held in combination.
You can turn off the grid by clicking Tools > Grid > None.
To parent a panel to another panel, hold the Control key while dragging a panel on top of another panel. As you move the mouse over different panels while dragging another panel and holding Control, the panels will be highlighted in pink. This indicates the panel to which you are going to parent the panel you are dragging if you let go. To parent the panel, release the mouse button.
You can unparent the selected panel by clicking on Tools > Unparent Panel.
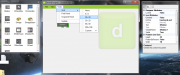
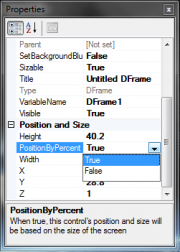
The Properties window lets you view and modify information about the selected Derma control. Any customisable properties of the selected control will be viewable here, including size, position, etc. You can also choose to base the size off of the screen size, in which case the position and size will be shown as a percentage.
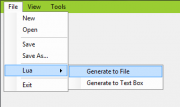
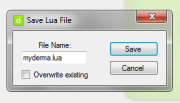
To generate the lua code for your design, go to File > Lua and select either Generate to File or Generate to Text Box depending on what you want to do. Selecting Generate to File will save your lua to a file of your choice, and selecting Generate to Text Box will simply pop up a box containing your generated lua code.
After you're done with your project and want to return and work on it later, you can save your project in a .ddproj file by going to File > Save or File > Save As, depending on what you want to do.
After saving your file, you may load it again by going to File > Load and navigating to your file. You can also load .ddproj files by dragging and dropping them onto the DermaDesigner executable, but this approach only works if the .ddproj file is in the same directory as the DermaDesigner executable, else it will fatally error.
To get the latest version of DermaDesigner, you can go to Tools > Update. Make sure to save your project, as updating will cause all unsaved data to be lost. After the updater completes, DermaDesigner will be up to date.
